Introduction to Expo
Expo (opens in a new tab) is an open-source platform designed for building native applications on Android, iOS, and the web using JavaScript and React. This boilerplate leverages Expo, utilising Expo Go (opens in a new tab) for running the app directly on your local device.
Initial Steps
1. Create an Expo Account
Visit the Expo website and sign up to create a new account. After successful registration, proceed to your dashboard.
2. Initailise the project
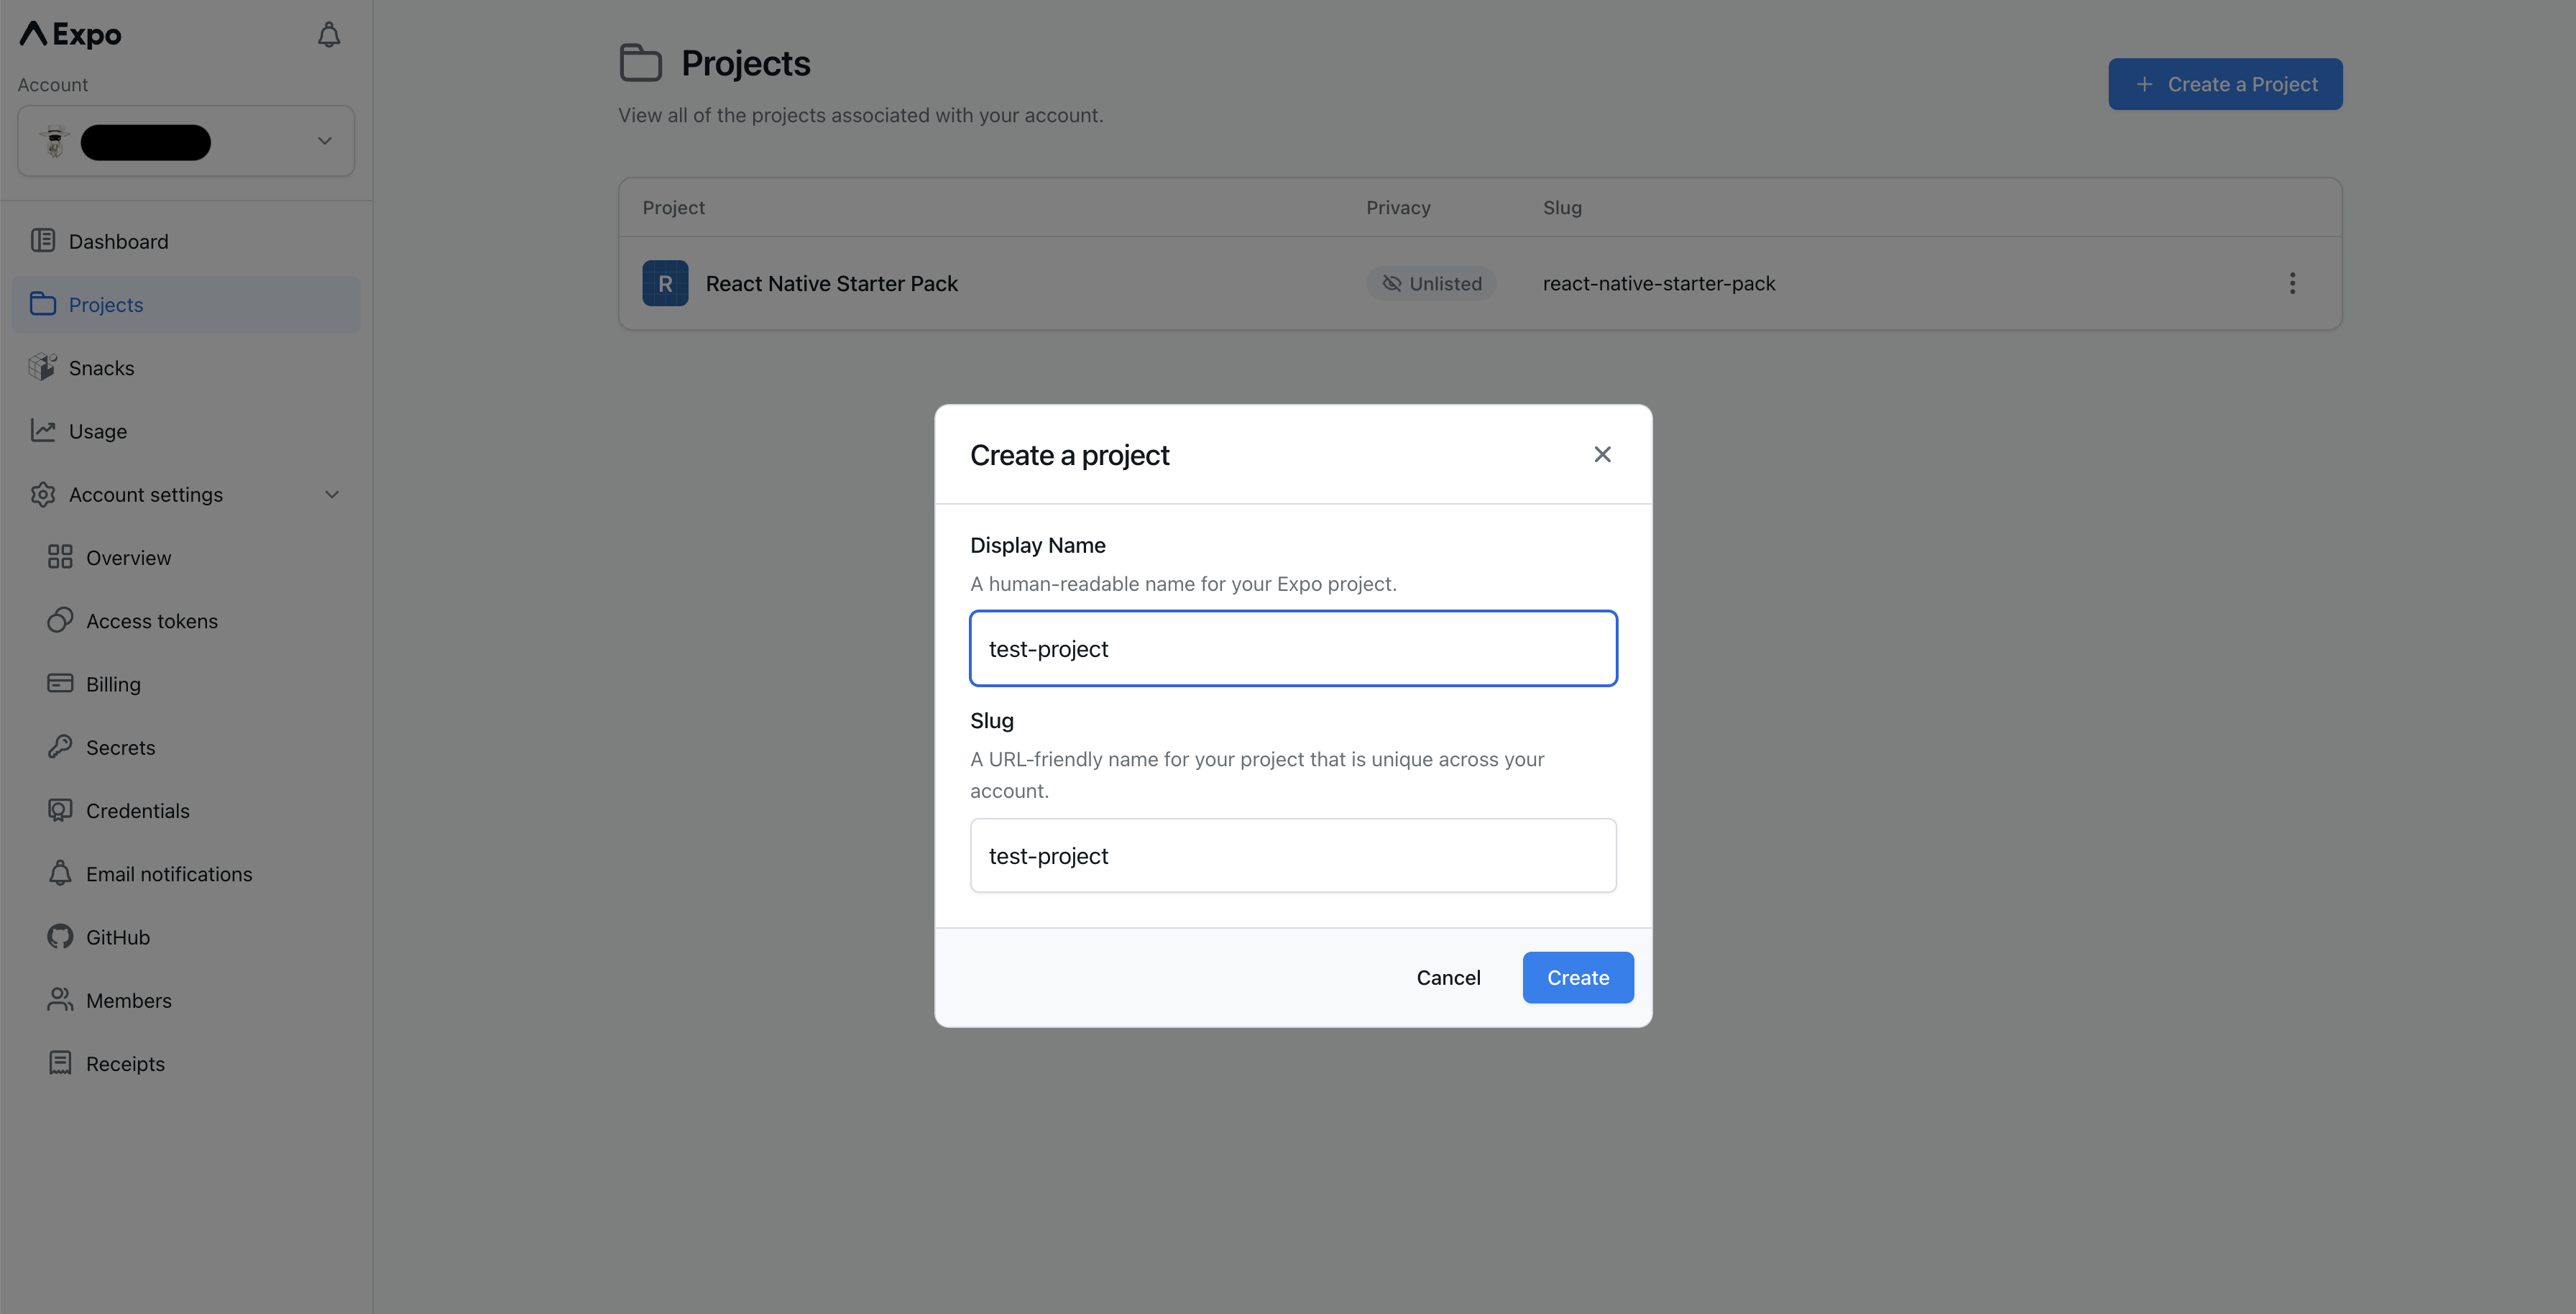
In the dashboard, you will be prompted to either create a new Expo project or link to an existing project. Given that this boilerplate provides the source code, you are only required to link to the existing codebase.
In the boilerplate project, run the following command (ensure you have the eas-cli installed (opens in a new tab)),
replacing <project_id> with your actual project ID:
eas init --id <project-id>The output should resemble the following:
★ eas-cli@5.6.0 is now available.
To upgrade, run npm install -g eas-cli.
Proceeding with outdated version.
✔ Project successfully linked (ID: <project-id>) (modified app.json)
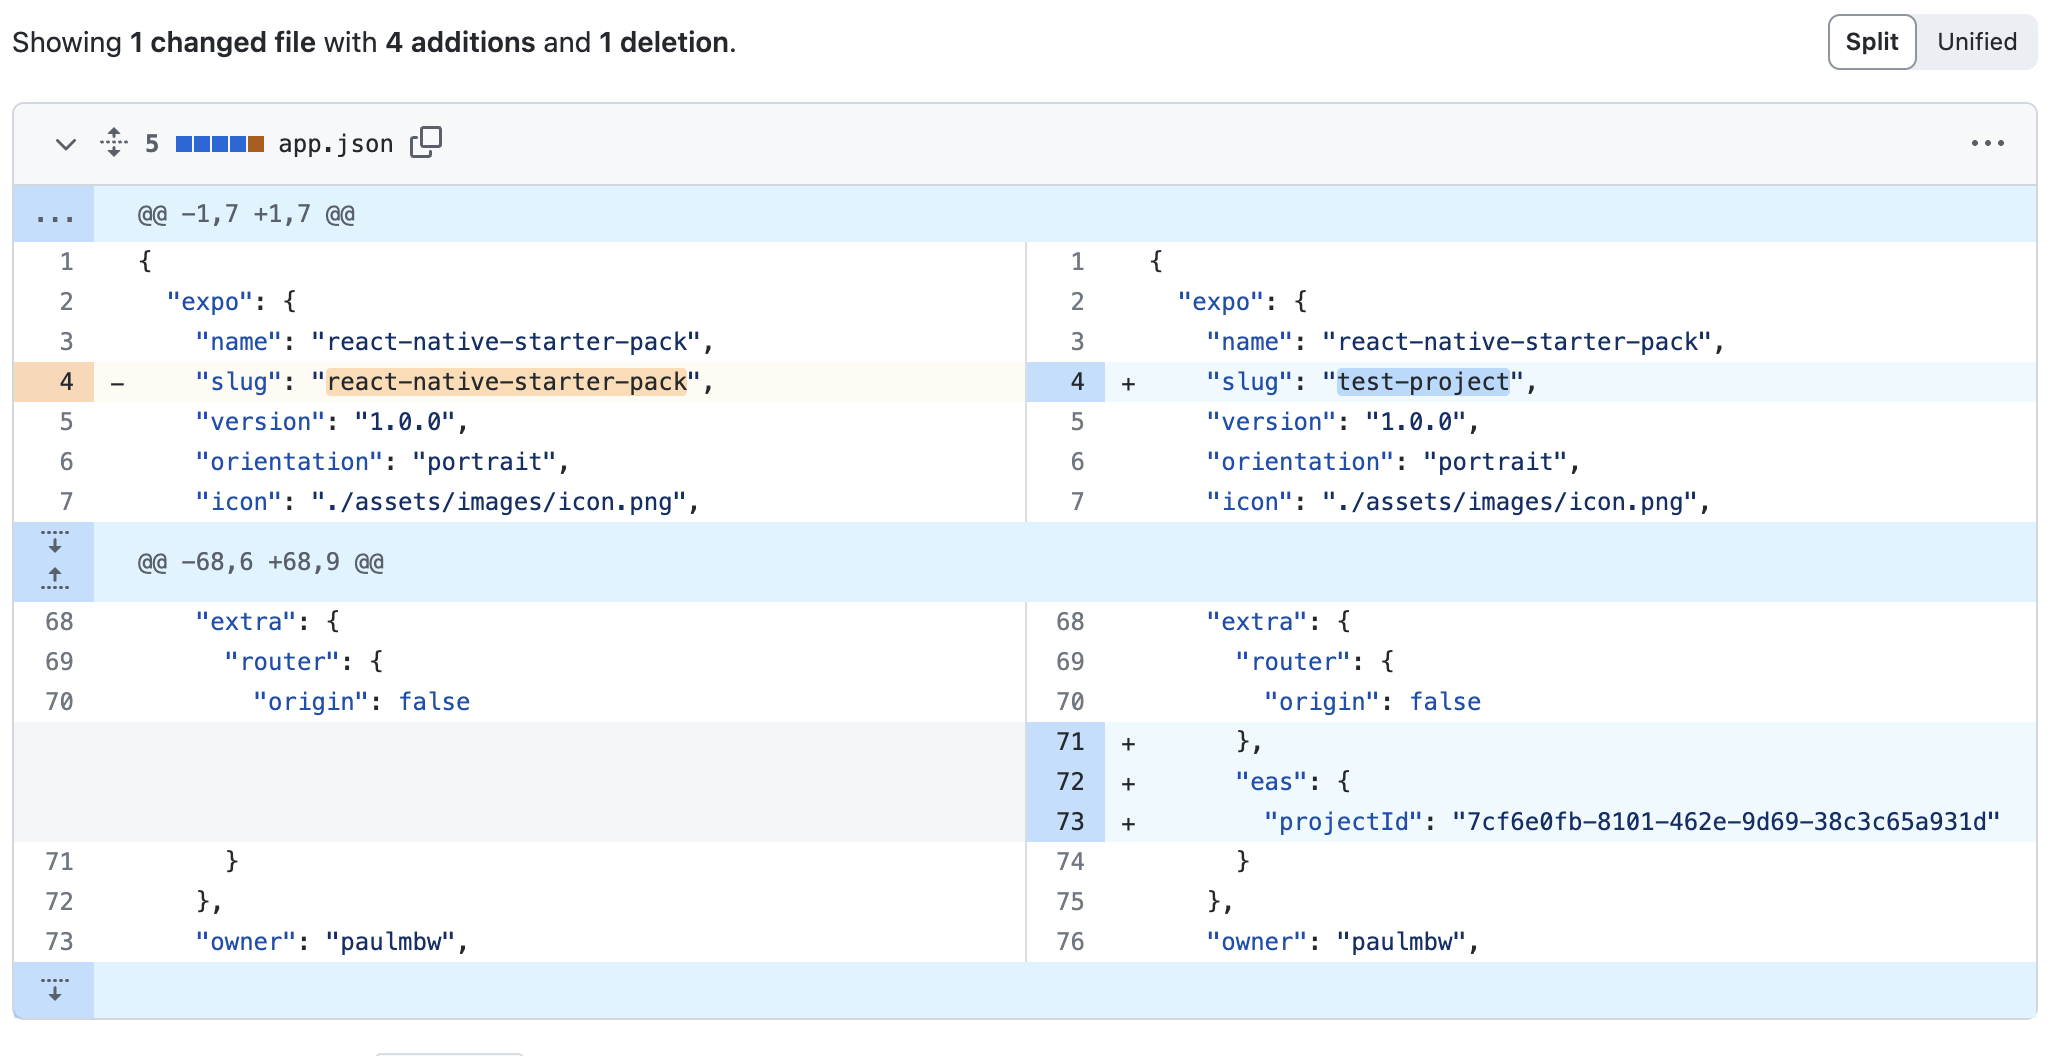
✔ Project slug (<project-slug>) does not match the value configured in the "slug" field (react-native-starter-pack).. Do you wish to overwrite it? … yesPost-execution, you should observe modifications in your app.json file signifying a successful link to Expo.
This change is crucial for future deployments and submissions to the Apple Store and Google Play Store. It ensures that Expo can accurately identify and handle your application. For more information, guidance and best practices, refer to Expo’s official documentation here (opens in a new tab).
Conclusion
By following these steps, you have successfully set up Expo for the React Native boilerplate. This lays the foundation for the integrations that are included in this codebase, and future integrations that you may include. Ensure to stay updated with Expo’s latest features and updates to improve the development experience.