Supabase Postgres and Storage
This boilerplate app interacts with Supabase for persisting and manipulating data using the supabase object returned from
createClient in src/services/supabase/index.ts. There are two example use cases included:
- updating rows in a Postgres database, specifically a table named
profilesand the fields are updated from the app - storing images in a Storage bucket, specifically storing images uploaded from the app
Getting started
This project uses the Quickstarts available in Supabase (specifically, the User Management Starter). They are a set of
pre-defined SQL queries that you can run to get a table and some columns quickly (the link to the quickstarts should be this:
https://supabase.com/dashboard/project/PROJECT-ID/sql/quickstarts (opens in a new tab)). In this example a Postgres database with a table named
profiles is created with the following columns:
create table profiles (
id uuid references auth.users on delete cascade not null primary key,
updated_at timestamp with time zone,
username text unique,
full_name text,
avatar_url text,
website text,
constraint username_length check (char_length(username) >= 3)
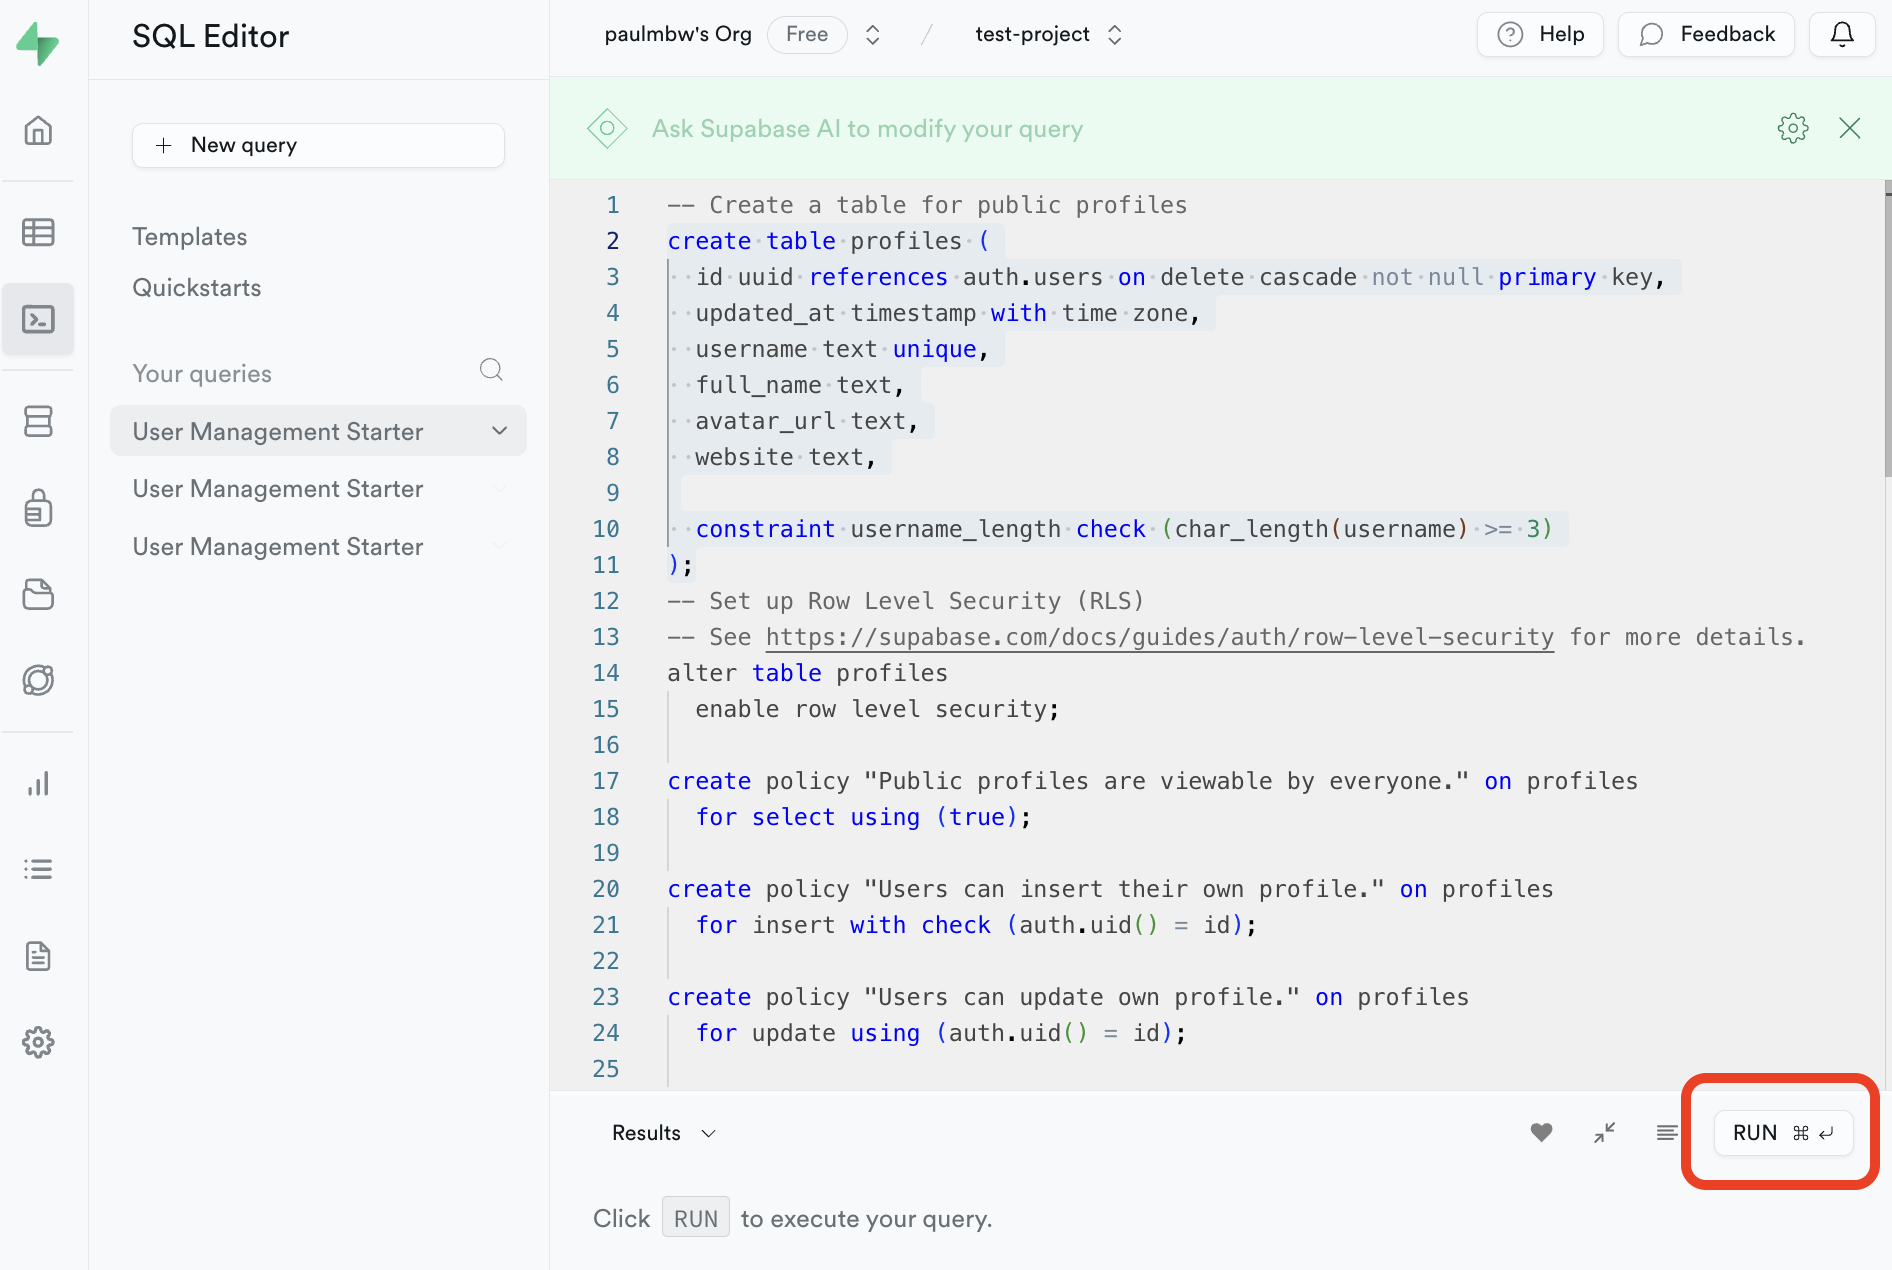
);You can select whichever starter suits you best (or you can write your own queries), but for the purpose of this documentation we will stick to the User Management Starter. Click "Run" to perform the query as shown below:
This quickstarter also creates a Storage bucket and defines access policies. No action is required here - the quickstarter includes both creating the Postgres table and the Storage bucket (you can see the Storage bucket query below):
-- Set up Storage!
insert into storage.buckets (id, name)
values ('avatars', 'avatars');
-- Set up access controls for storage.
-- See https://supabase.com/docs/guides/storage#policy-examples for more details.
create policy "Avatar images are publicly accessible." on storage.objects
for select using (bucket_id = 'avatars');
create policy "Anyone can upload an avatar." on storage.objects
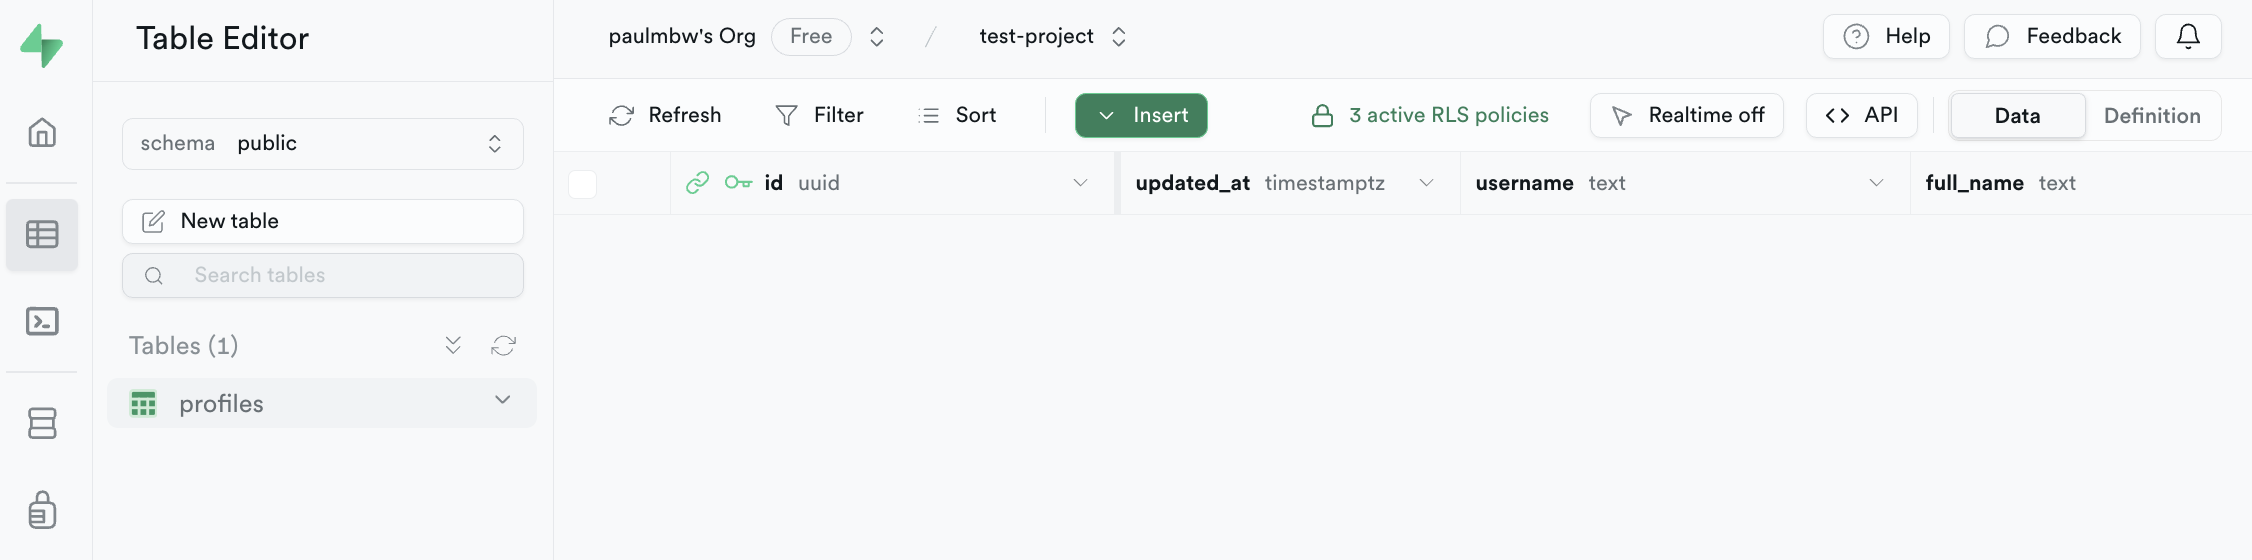
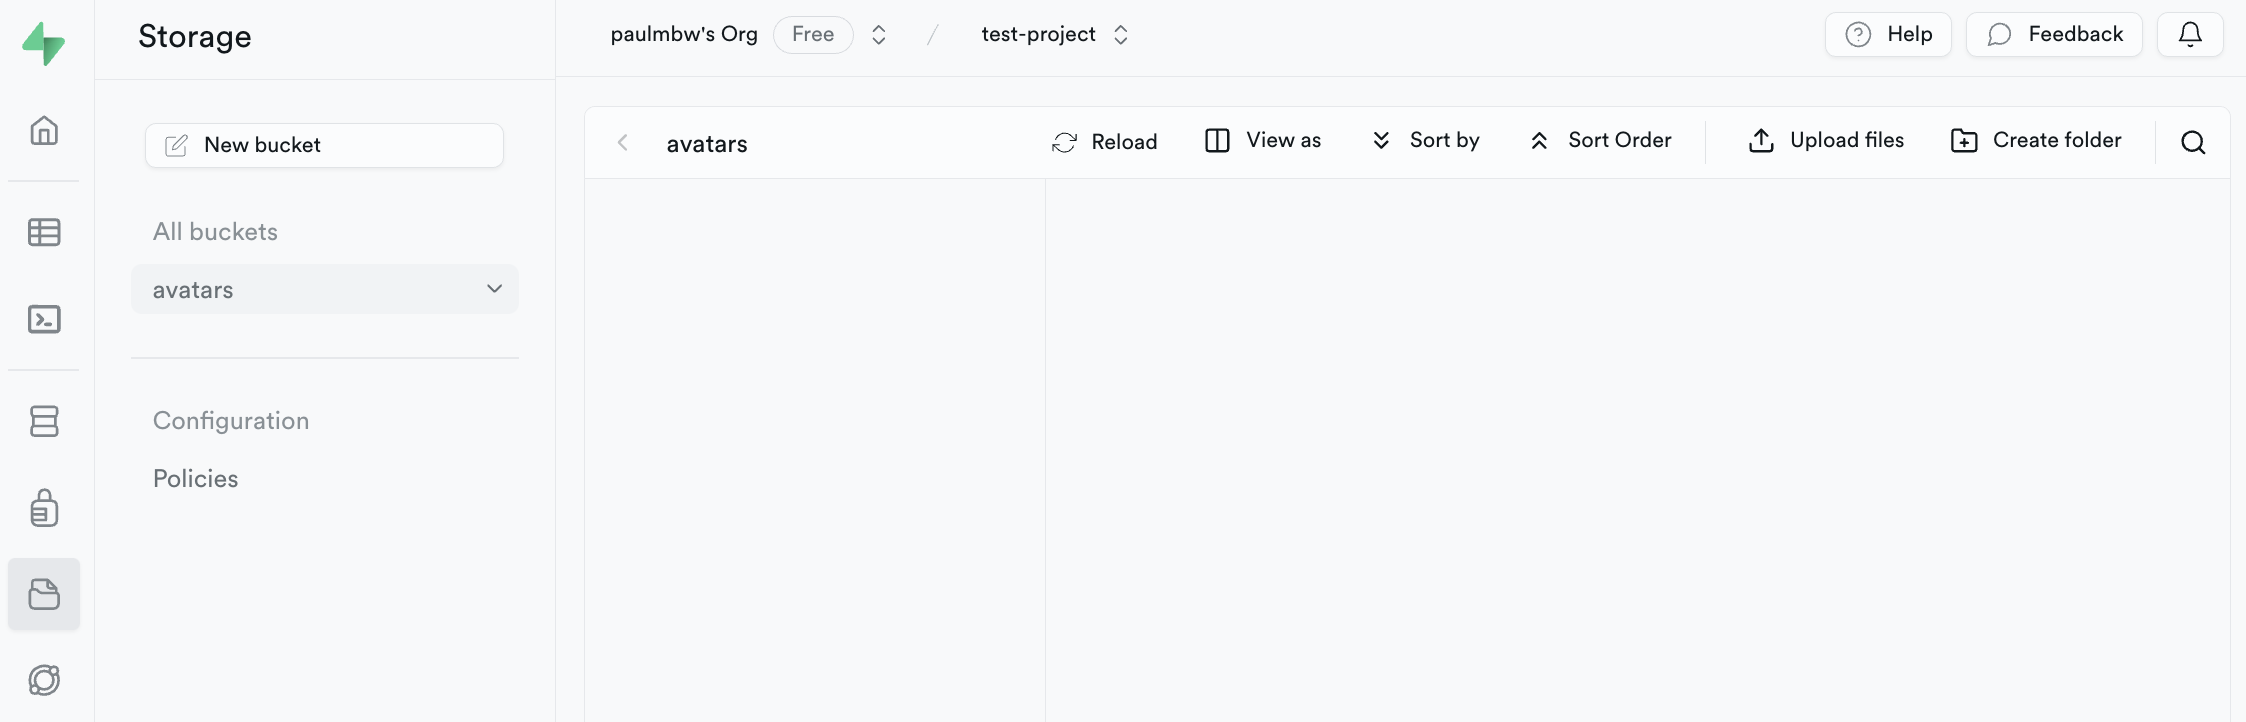
for insert with check (bucket_id = 'avatars');As a result, you will see both a new table named profiles and a bucket named avatars.
How does the app communicate with the database and bucket?
For the profiles table, you will find the logic for inserting and updating records in app/(home)/supabase.tsx. There are two
methods that interact with the table - fetchProfile() and updateProfile().
fetchProfile()
When the screen first renders, a call to fetch a row from the profiles table based on the session ID is performed. Fetching data
from tables resembles writing a SQL query where you define the from table, the columns you require using select and
specifying rows using eq (which takes the column name, and the value).
await supabase.from(SUPABASE_PROFILES_TABLE_NAME)
              .select(`username, full_name, website, avatar_url`)
              .eq("id", session?.user.id)
              .single();
updateProfile()
Updating a row in the table follows a similar structure - you define the from table and you pass an object to upsert where the
object key is the column name, and object value is the value to be updated. upsert performs an update if the row exists, or inserts
a new row if it does not exist.
const updates = {
    id: session?.user.id,
    username,
    full_name,
    website,
    updated_at: new Date(),
};

const { error } = await supabase.from(SUPABASE_PROFILES_TABLE_NAME)
                                .upsert(updates);
You can read more about the database methods available on the Supabase documentation for the @supabase/supabase-js library here (opens in a new tab).
Recommendation
Provided in this boilerplate are simple examples of manipulating data in your Supabase database. To get things up and running quickly, it's recommended you follow the User Management quickstarter to understand how the logic works. However, if you're more experienced with building apps and interacting with a database, you are welcome to update the logic and create your own tables and columns. Ensure you have set the correct environment variables.
Demo
Once you've created the correct table and storage bucket in Supabase, you should be able to persist and manipulate data from the app as shown in the demo: