Introduction to Supabase
Supabase (opens in a new tab) is an open source Firebase alternative. It provides two essential functions for the boilerplate app: user authentication and data persistence in a database.
Getting started
1. Create your account
Register for an account with Supabase to begin.
2. Creating a project
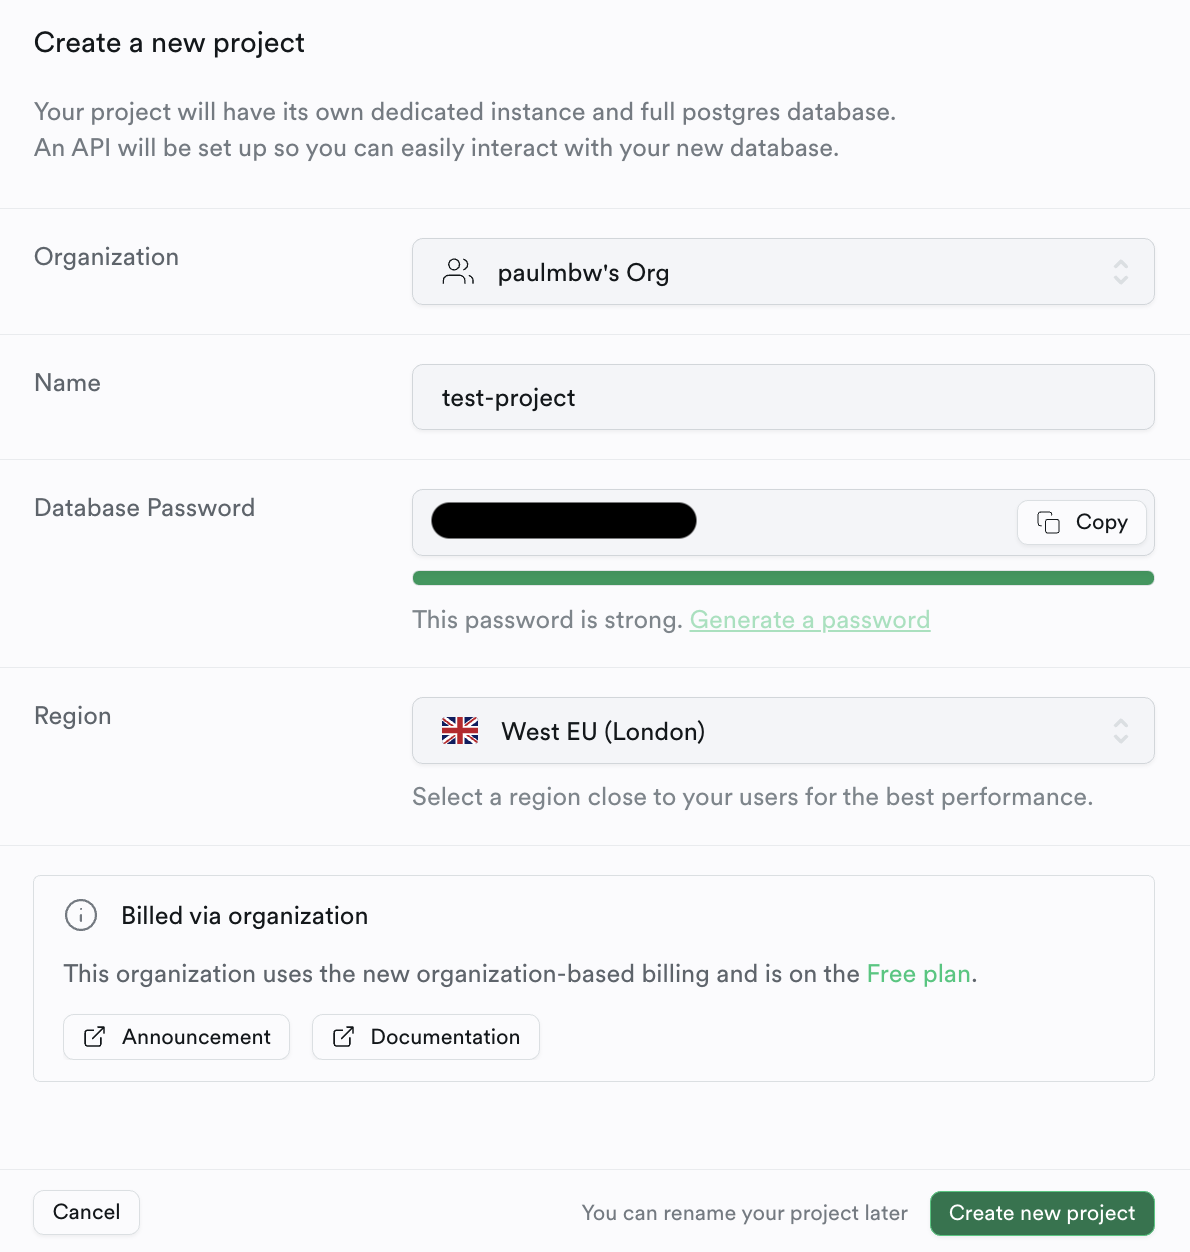
Upon login, you will be guided to create a new project. Fill in the necessary details such as organization, project name, database password (remember to record this, as it will be needed later), and the server region.

3. Provisioning your services
After project creation, Supabase will take a moment to set up your database and services. Upon completion, you can retrieve your Project URL and API Key from the Connecting to your new project section show below.

Configuring the app
1. Setting environment variables
In your code editor, open the .env file from the React Native boilerplate app setup and update the EXPO_PUBLIC_SUPABASE_PROJECT_URL
and EXPO_PUBLIC_SUPABASE_API_KEY with the values you obtained from Supabase.
You also need to update the backend service with the same environment variables: update SUPABASE_API_KEY and SUPABASE_PROJECT_URL
with the values you obtained from Supabase.
2. Supabase client integration
The app will interact with Supabase using a client configured in src/services/supabase/index.ts. Here's how it's set up (this is also
done in the backend service):
export const supabase = createClient(
  process.env.EXPO_PUBLIC_SUPABASE_PROJECT_URL,
  process.env.EXPO_PUBLIC_SUPABASE_API_KEY,
  {
    auth: {
      storage: AsyncStorage,
      autoRefreshToken: true,
      persistSession: true,
      detectSessionInUrl: false,
    },
  }
);
This supabase object is what the app uses to communicate with the Supabase API, as seen in calls like await supabase.auth.getSession().
Restart your app after updating the .env file
Once you make changes to the .env file you need to restart the expo application. This is to ensure expo picks up the updated
file and uses the newly created environment variables in your app.
Conclusion
With these steps, we are now ready to configure authentication with Supabase.