In-app Purchases with iOS
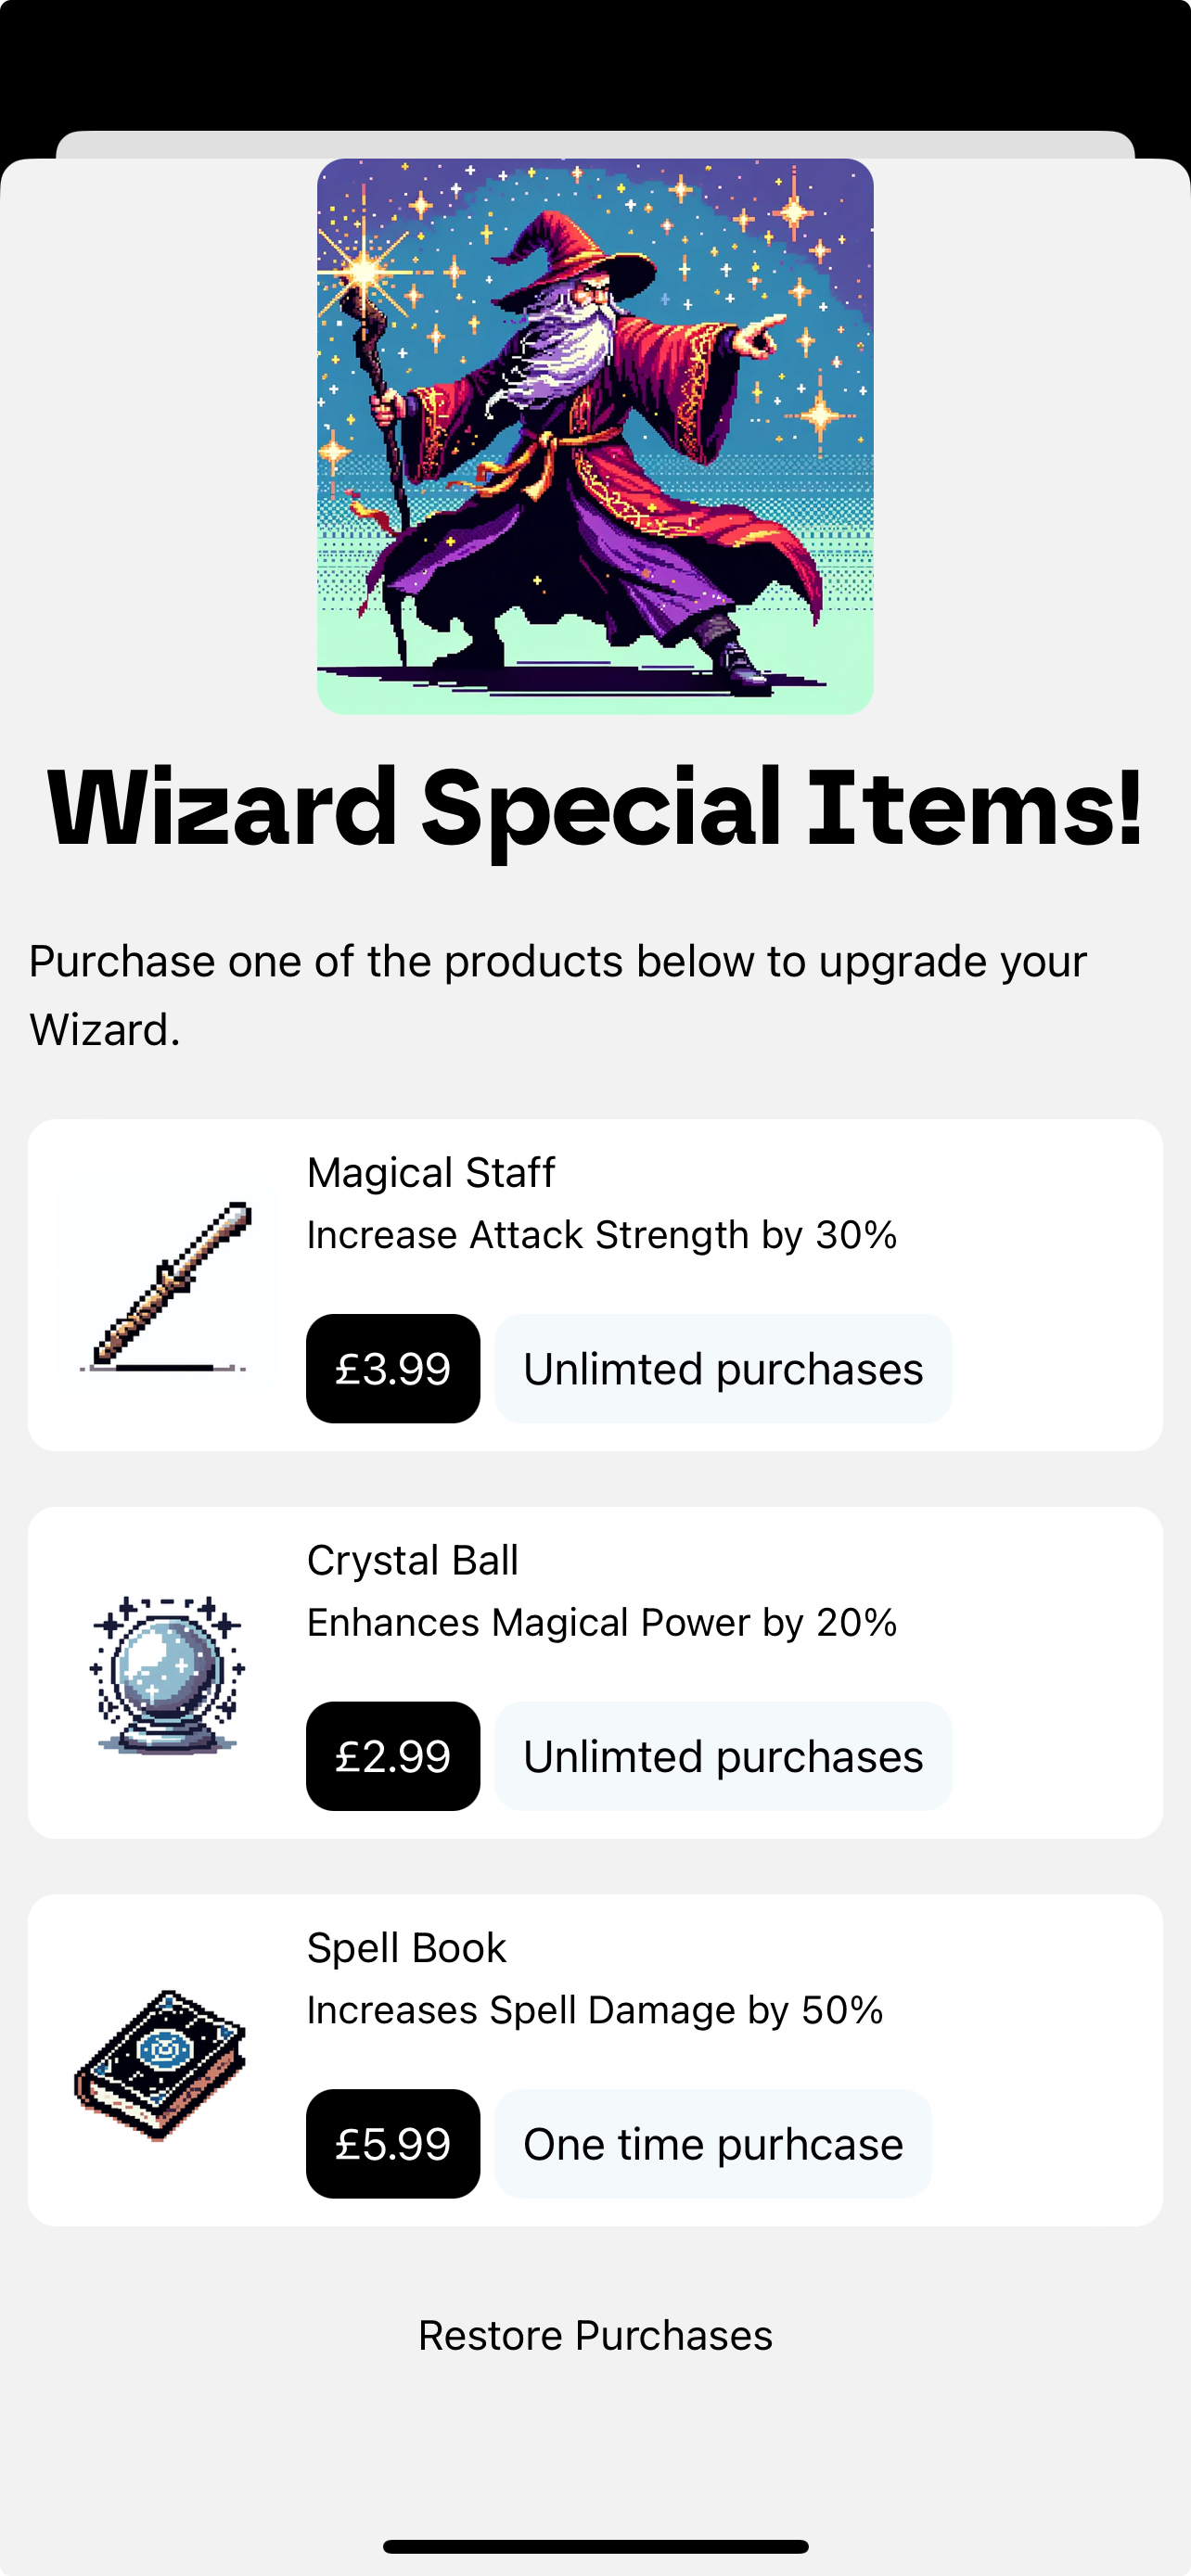
In-app purchases are one-off items that your customers can purchase. They are created in App Store Connect and made availabile in your app with RevenueCat. This part of the guide will focus on the complete setup of in-app purchases. We will take the example of a wizard-style app where you can purchase individual consumable and non-consumable items for your wizard. There are three items availabile that are displayed on a paywall:
- Magical Staff (consumable)
- Crystal Ball (consumable)
- Spell Book (non-consumable)
All the code - including the screens to navigate to this example and the RevenueCat integration - are all included in the boilerplate. This guide focuses on setting up the necessary products for RevenueCat to feed into the app via a paywall.
Create in-app purchases in App Store Connect
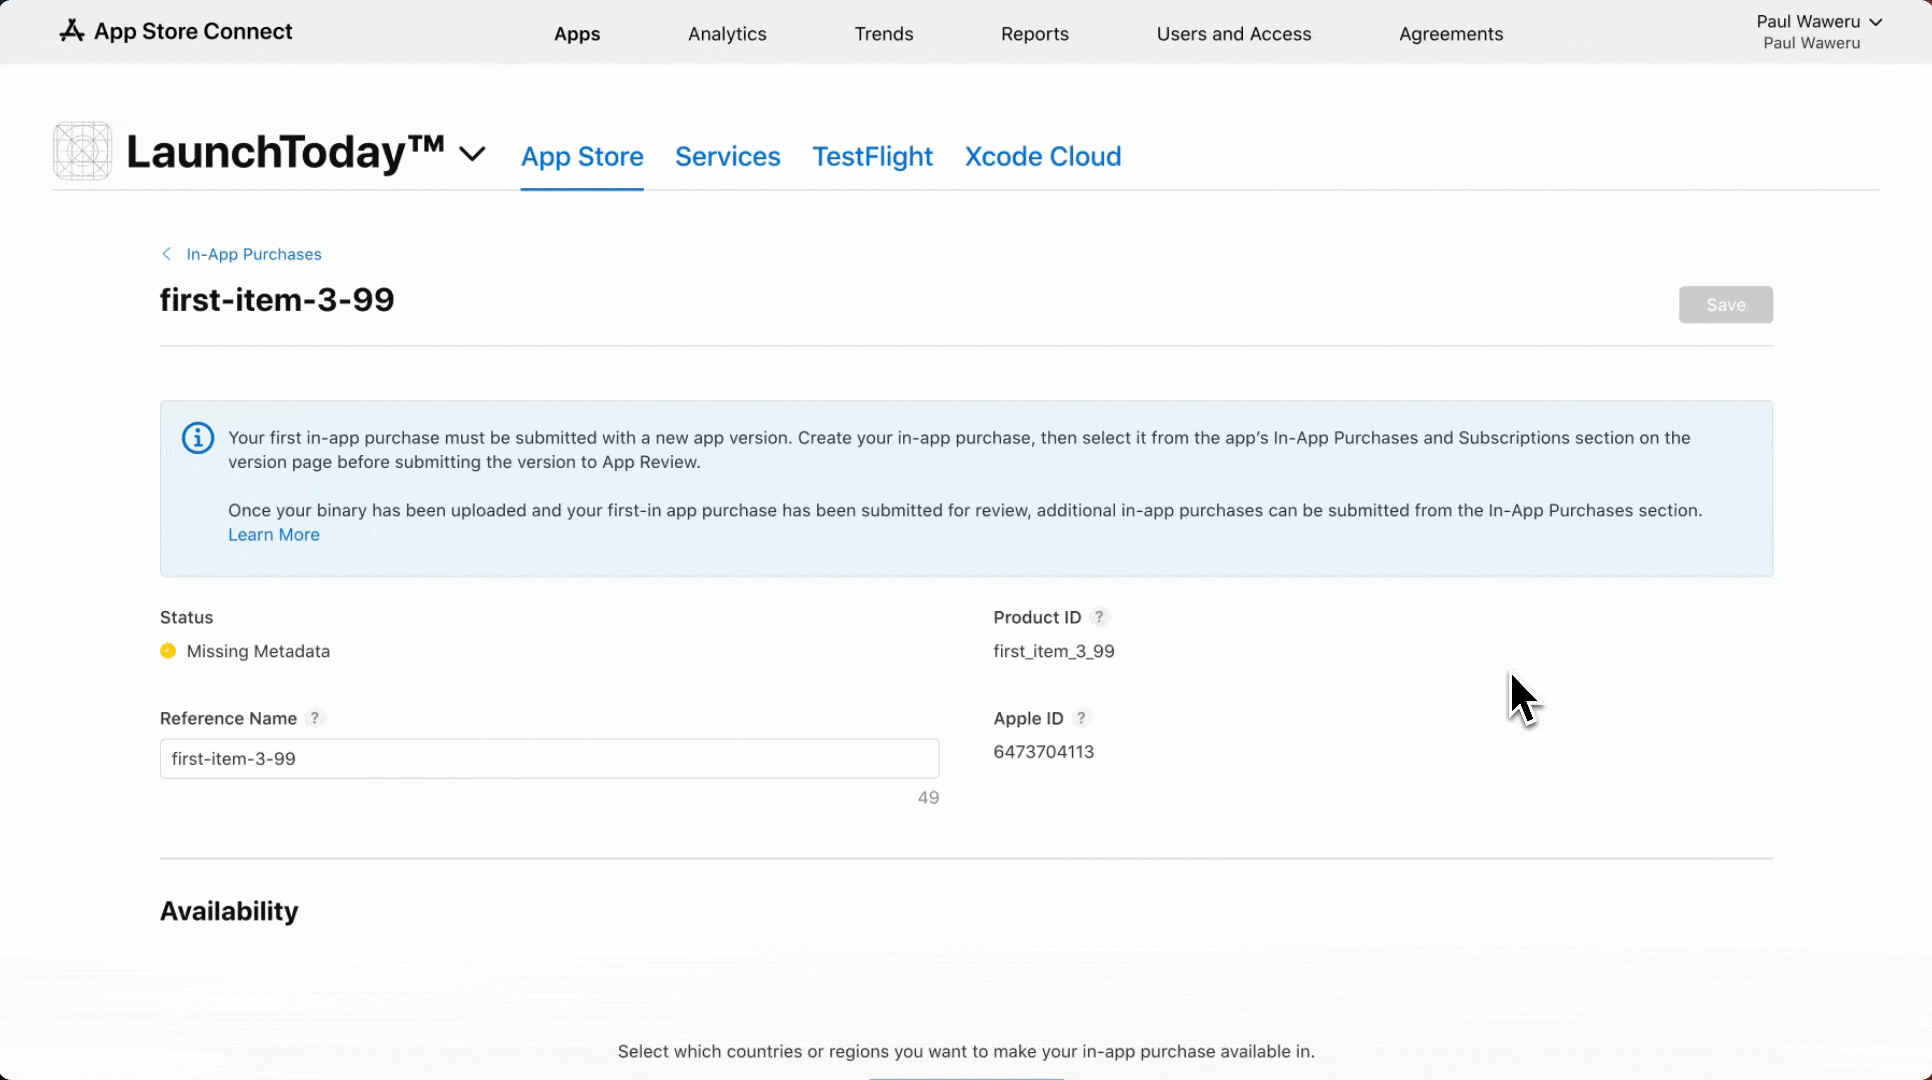
Once you have added your app to App Store Connect, create an in-app purchase. We are going to create the three items that are displayed on the paywall. Set the Type, Reference Name and Product ID as follows:
| Product | Type | Reference Name | Product ID |
|---|---|---|---|
| Magical Staff | Consumable | crystal-ball-2-99 | crystal_ball_2_99 |
| Crystal Ball | Non-Consumable | magical-staff-3-99 | magical_staff_3_99 |
| Spell Book | Non-Consumable | spell-book-5-99 | spell_book_5_99 |
Let's add the Magical Staff item. Firstly, click the In-App Purchase link in the navigation section and add the first item, setting the type, refererence name and product ID from the table above:
Then, set the the price schedule and app store localization. The price should reflect the price mentioned in the reference name and the product ID, but feel free to set a different price (this will be visible on the paywall):
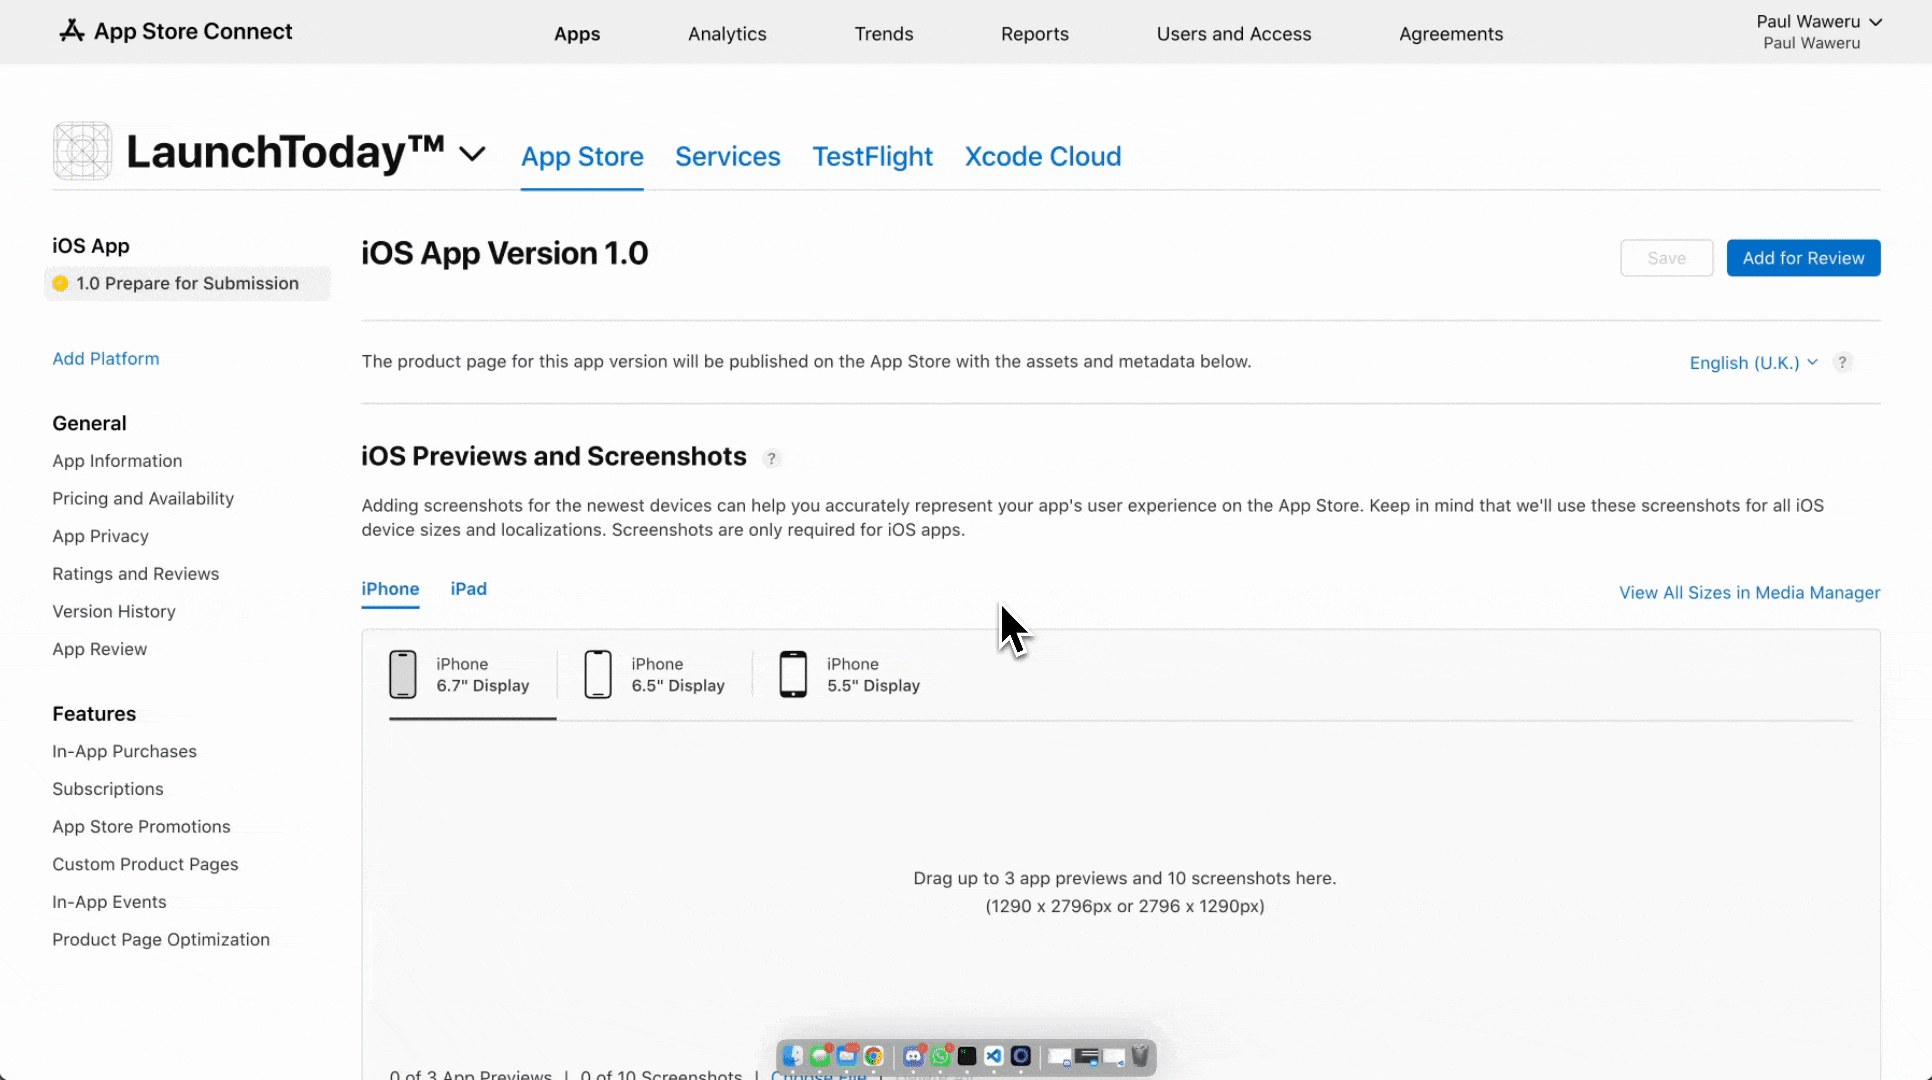
Lastly, add a screenshot in the Review Information section. Ensure the dimensions of the image are 640 x 920 pixels (you can use an image resizer link here (opens in a new tab)).

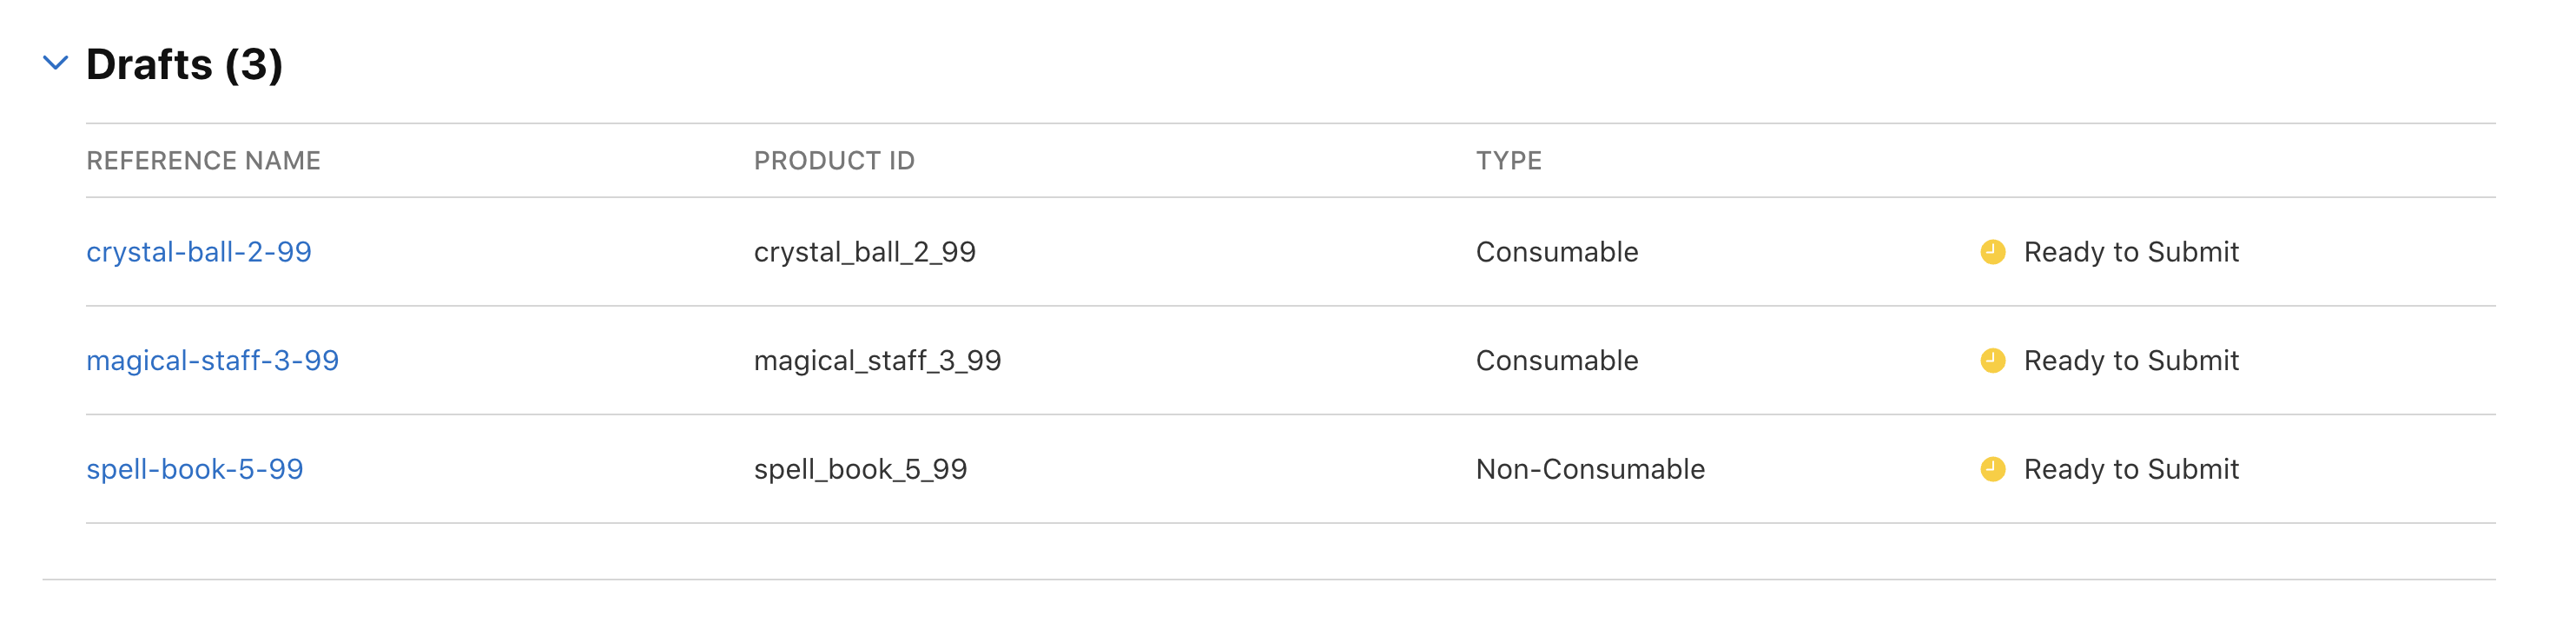
Complete this process for the remaining Crystal Ball and Spell Book items. Your list of in-app purchases should resemble the following:
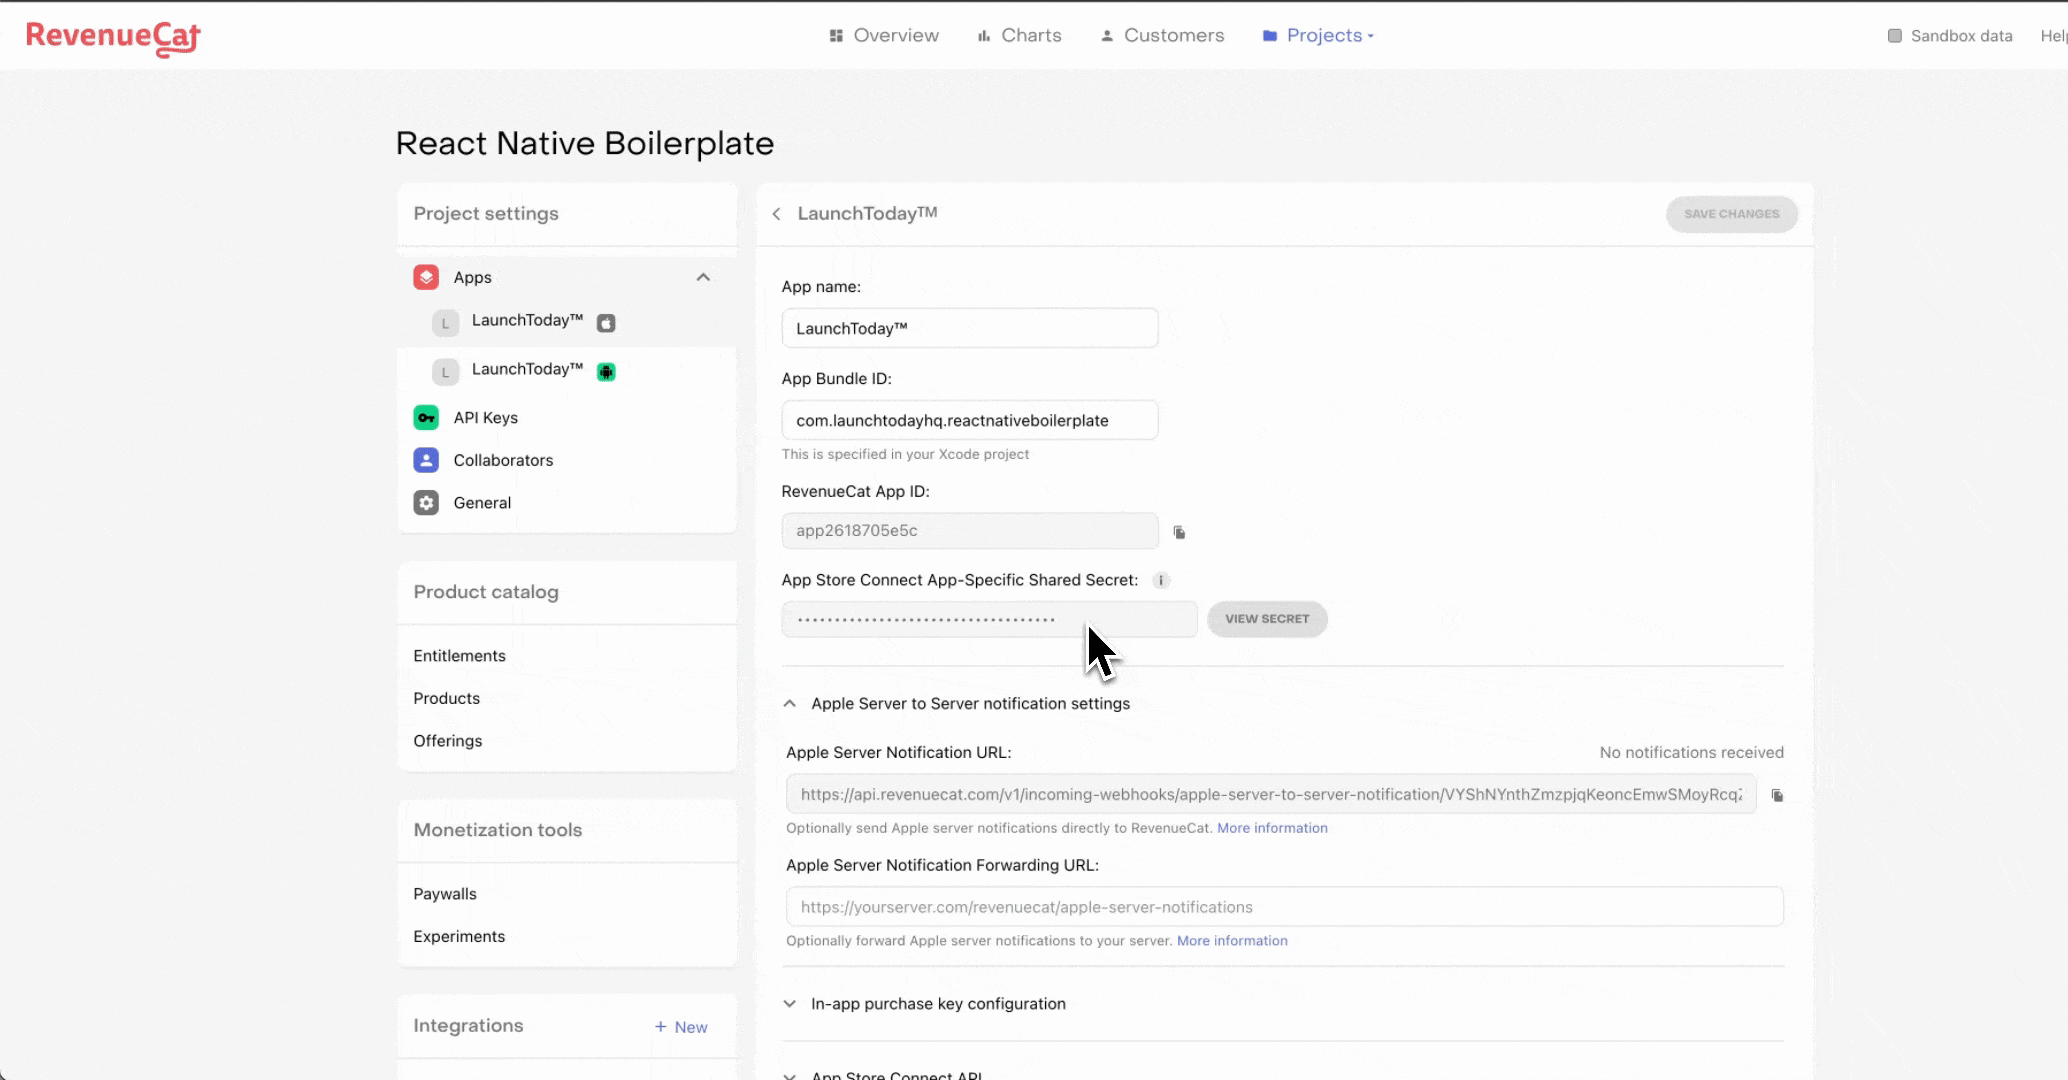
Import in-app purchases into RevenueCat
Once you've completed the setup of in-app purchases in App Store Connect, the next step is to import the three products into RevenueCat. You can automatically import the as shown below (this is made possbile by using the App Store Connect API you setup earlier)
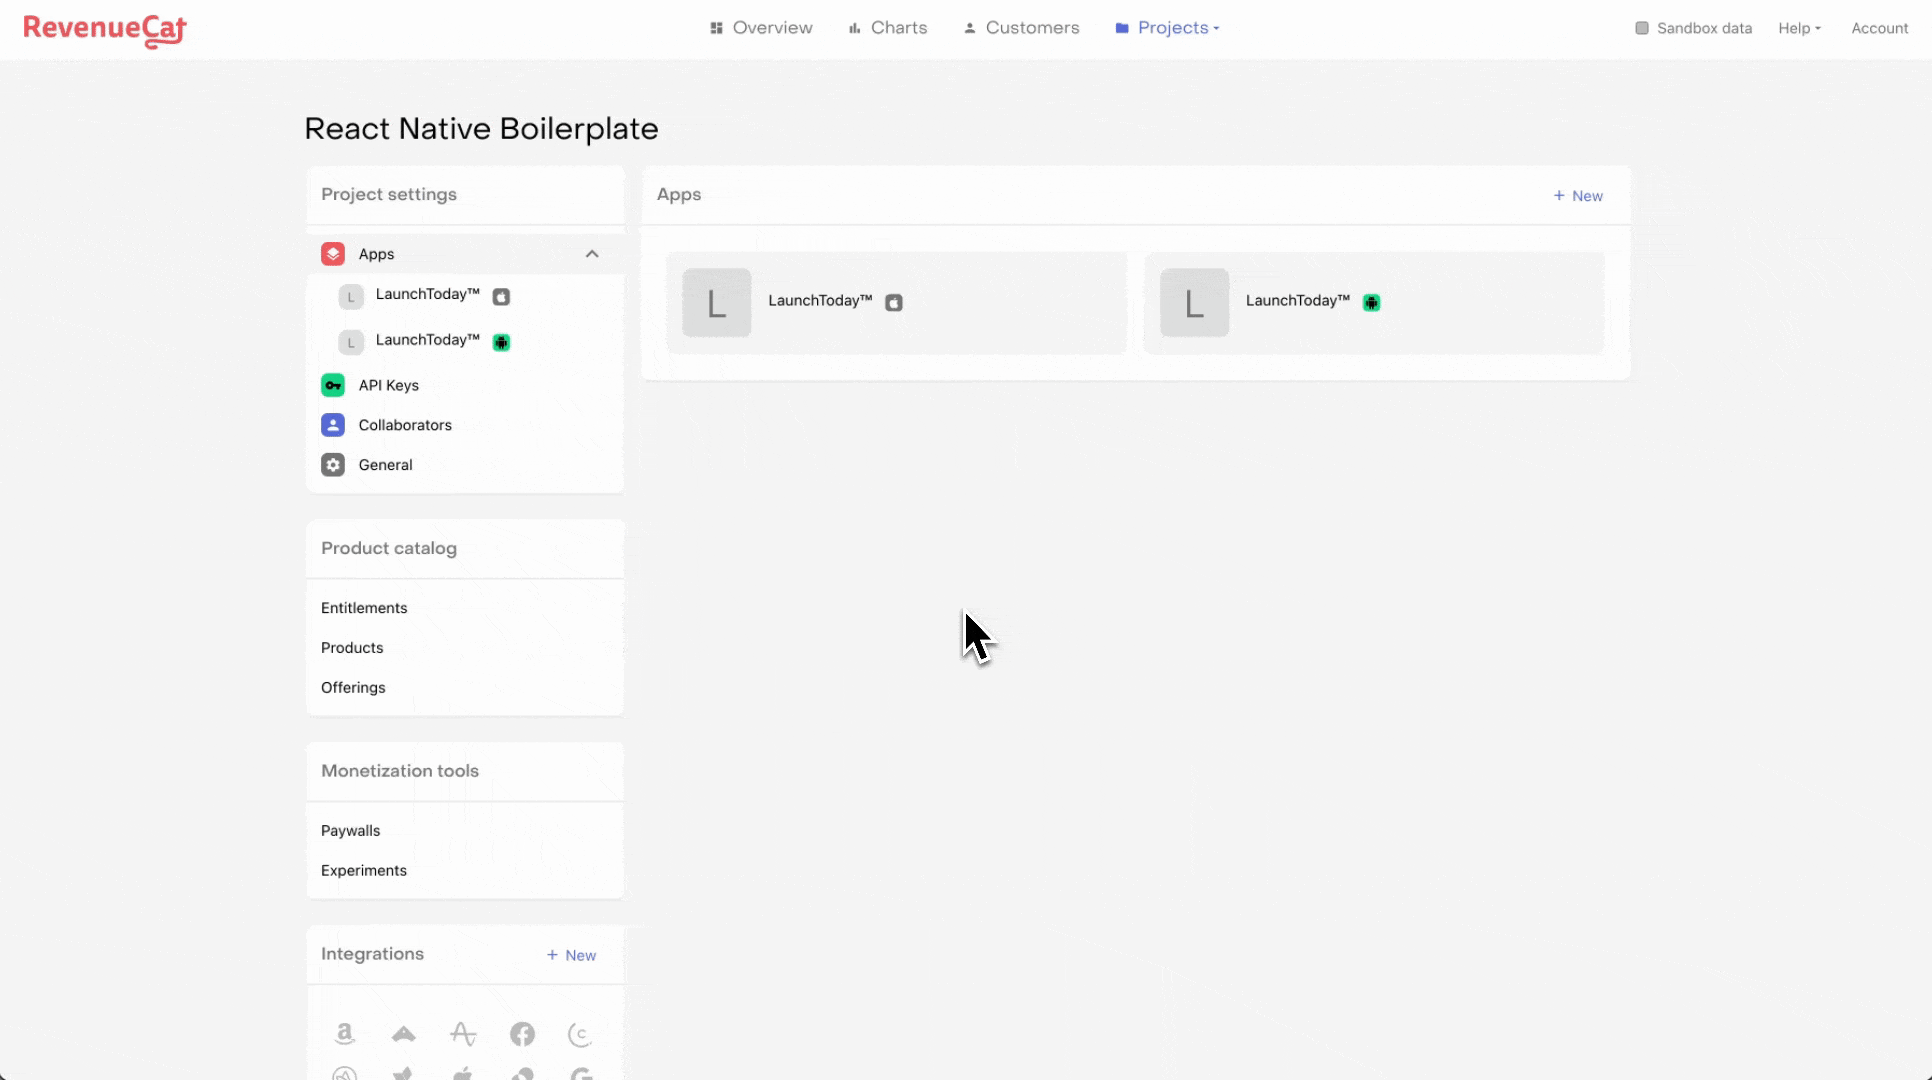
Your product list should display all the in-app products you created in App Store Connect (ignore the other products and entitlement counts, we'll set this up later):

Creating entitlements for the products
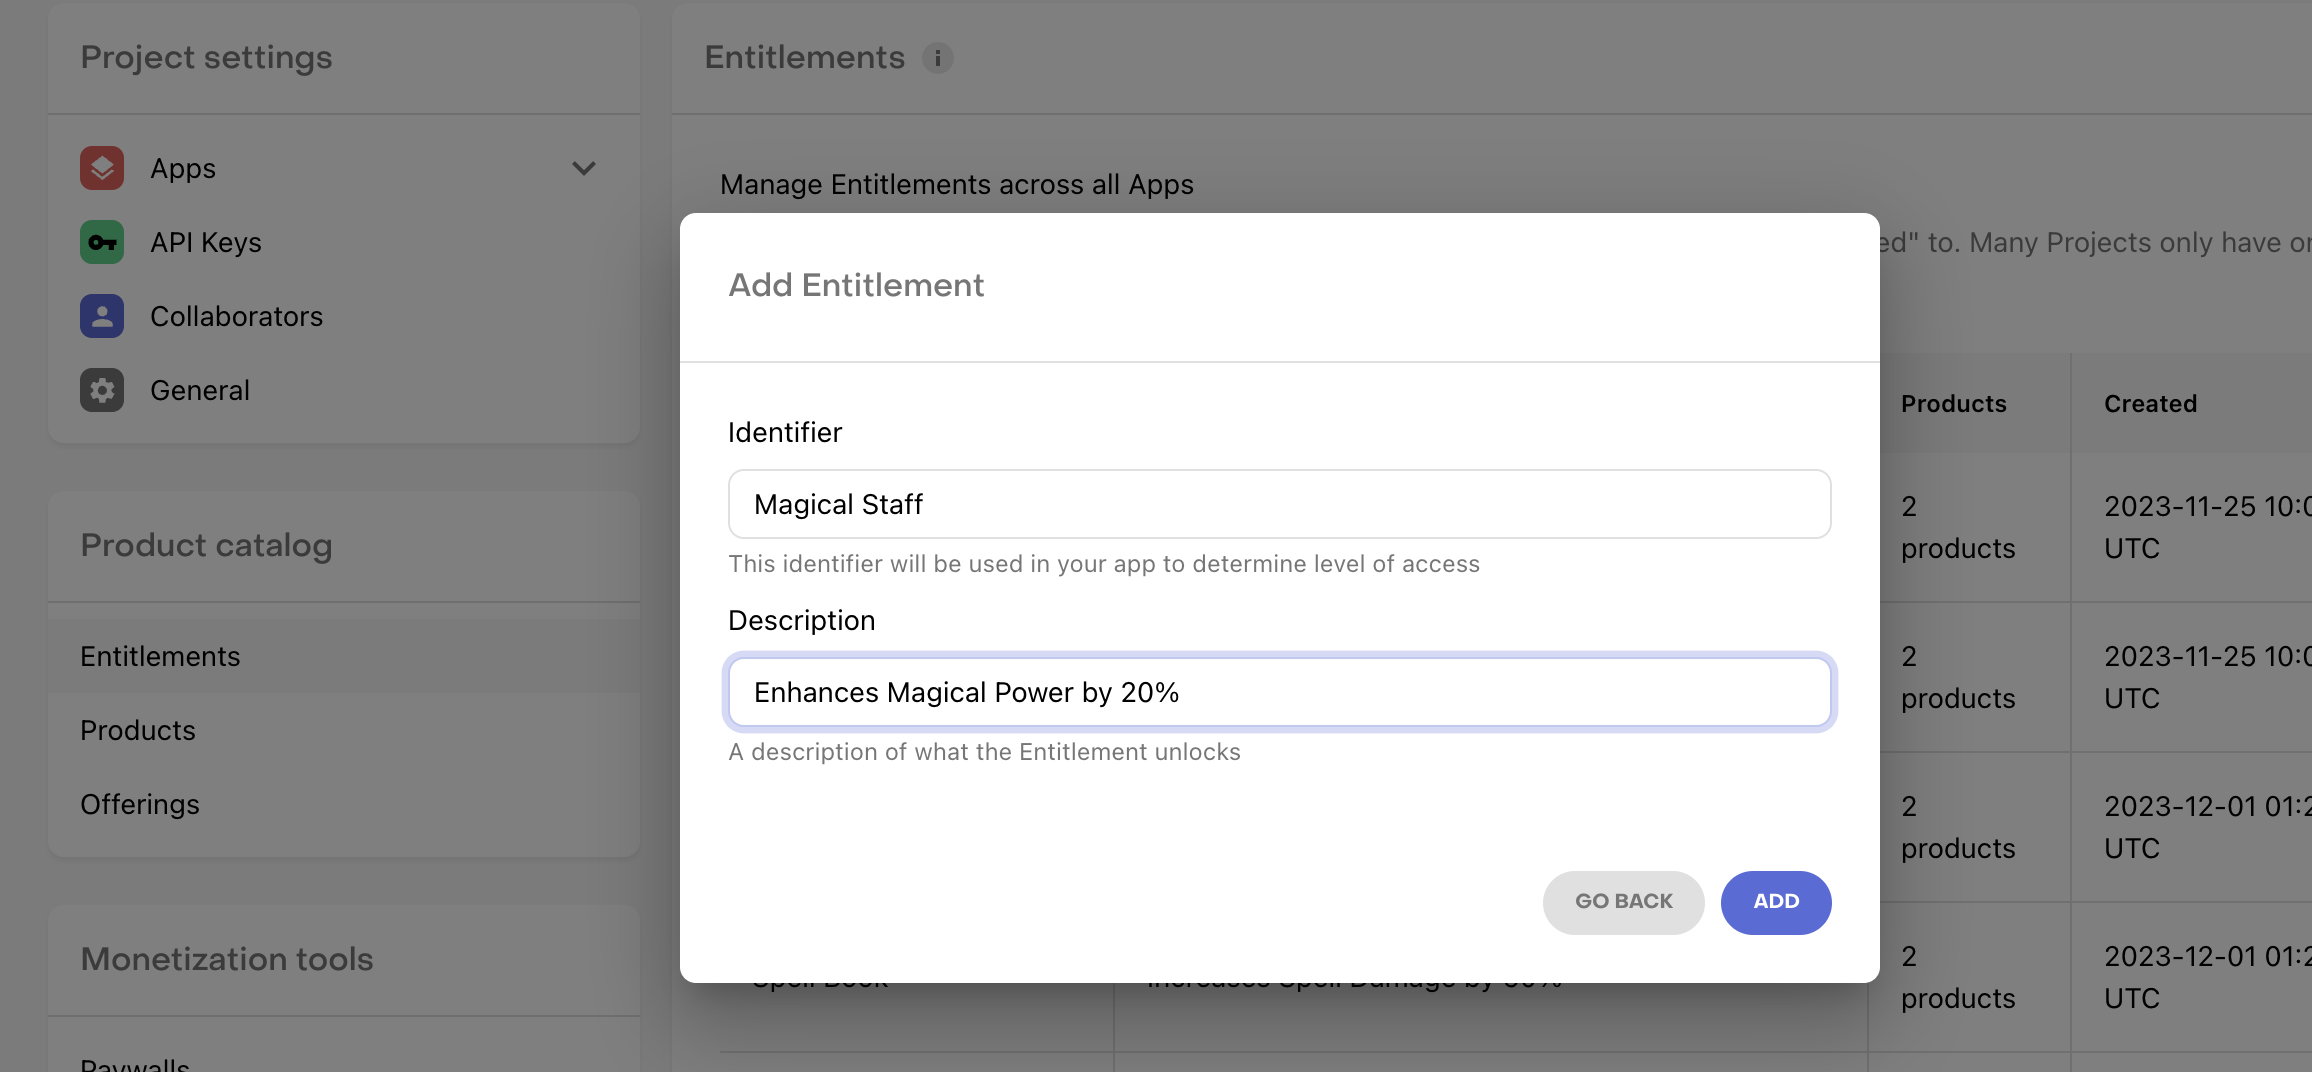
Next, we'll want to setup entitlements. Create a new entitlement for each of the three products we created earlier. Each entitlement requires an identifier and a description - ensure the entitlement is a human readable value (this is the product name your customer will see on the paywall), and the description should clear in what the product achieves:
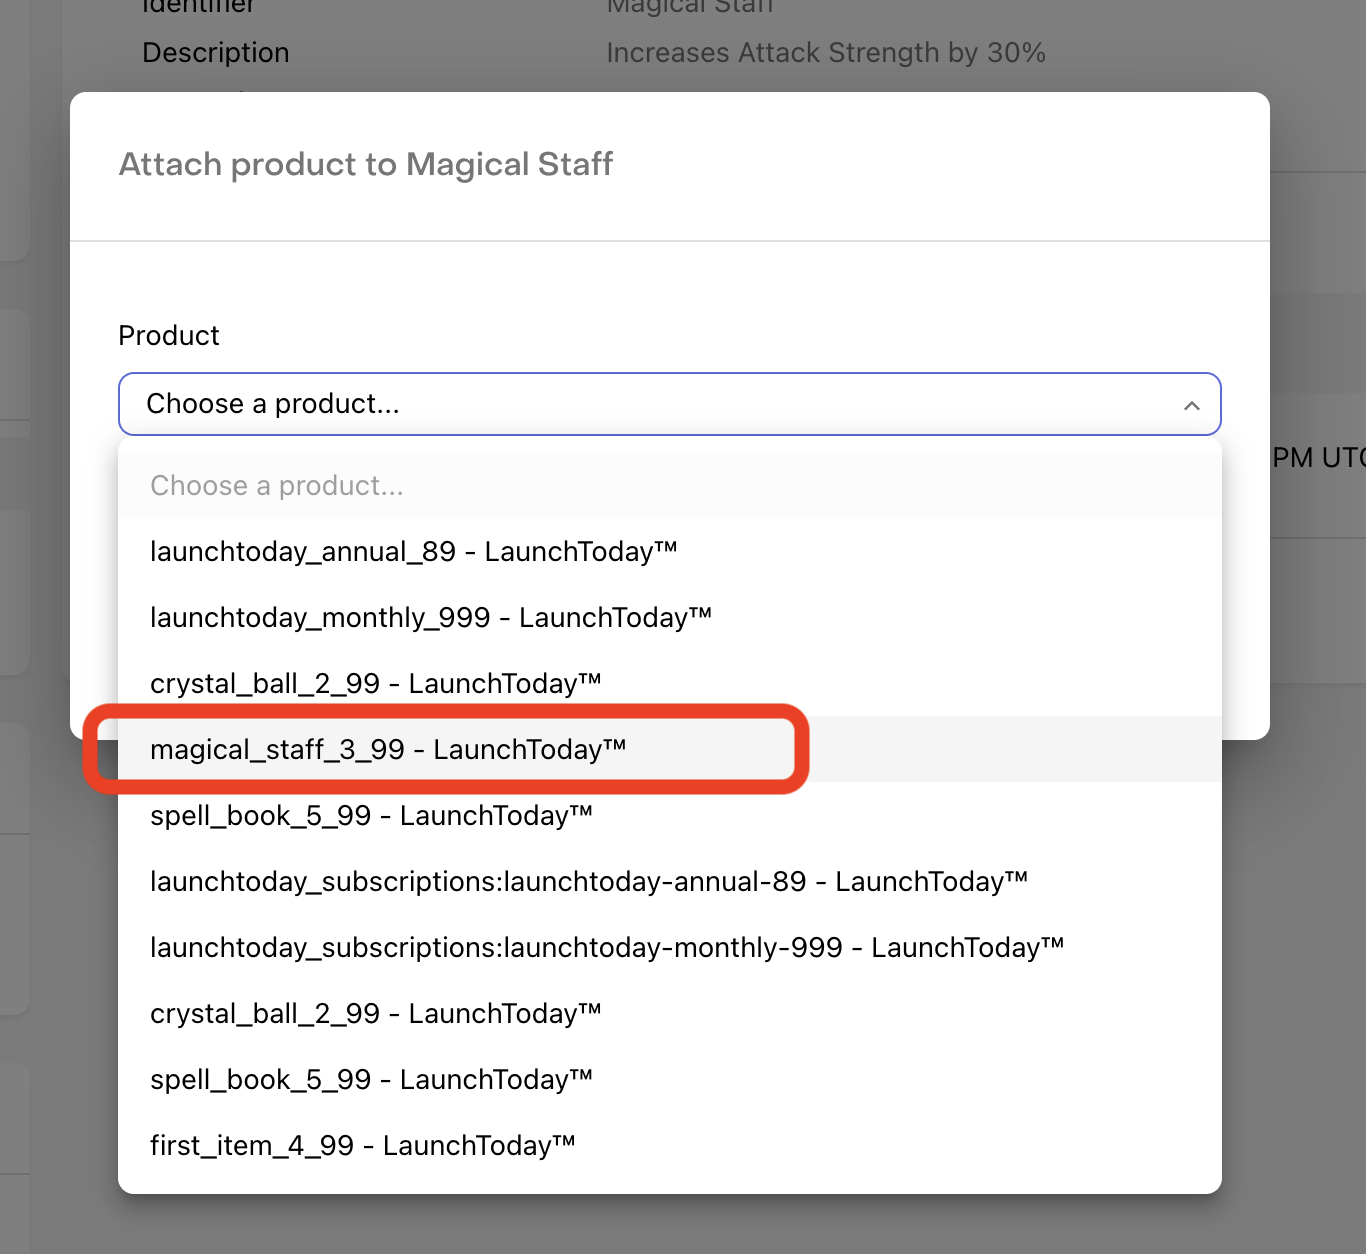
After creating the entitlement, you need to attach the product to the entitlement:
Create the remaining entitlements and attach the correct products as outlined below:
| Product | Identifier | Description | Product to attach |
|---|---|---|---|
| Magical Staff | Crystal Ball | Enhances Magical Power by 20% | crystal_ball_2_99 |
| Crystal Ball | Spell Book | Increases Spell Damage by 50% | magical_staff_3_99 |
| Spell Book | Magical Staff | Increases Attack Strength by 30% | spell_book_5_99 |
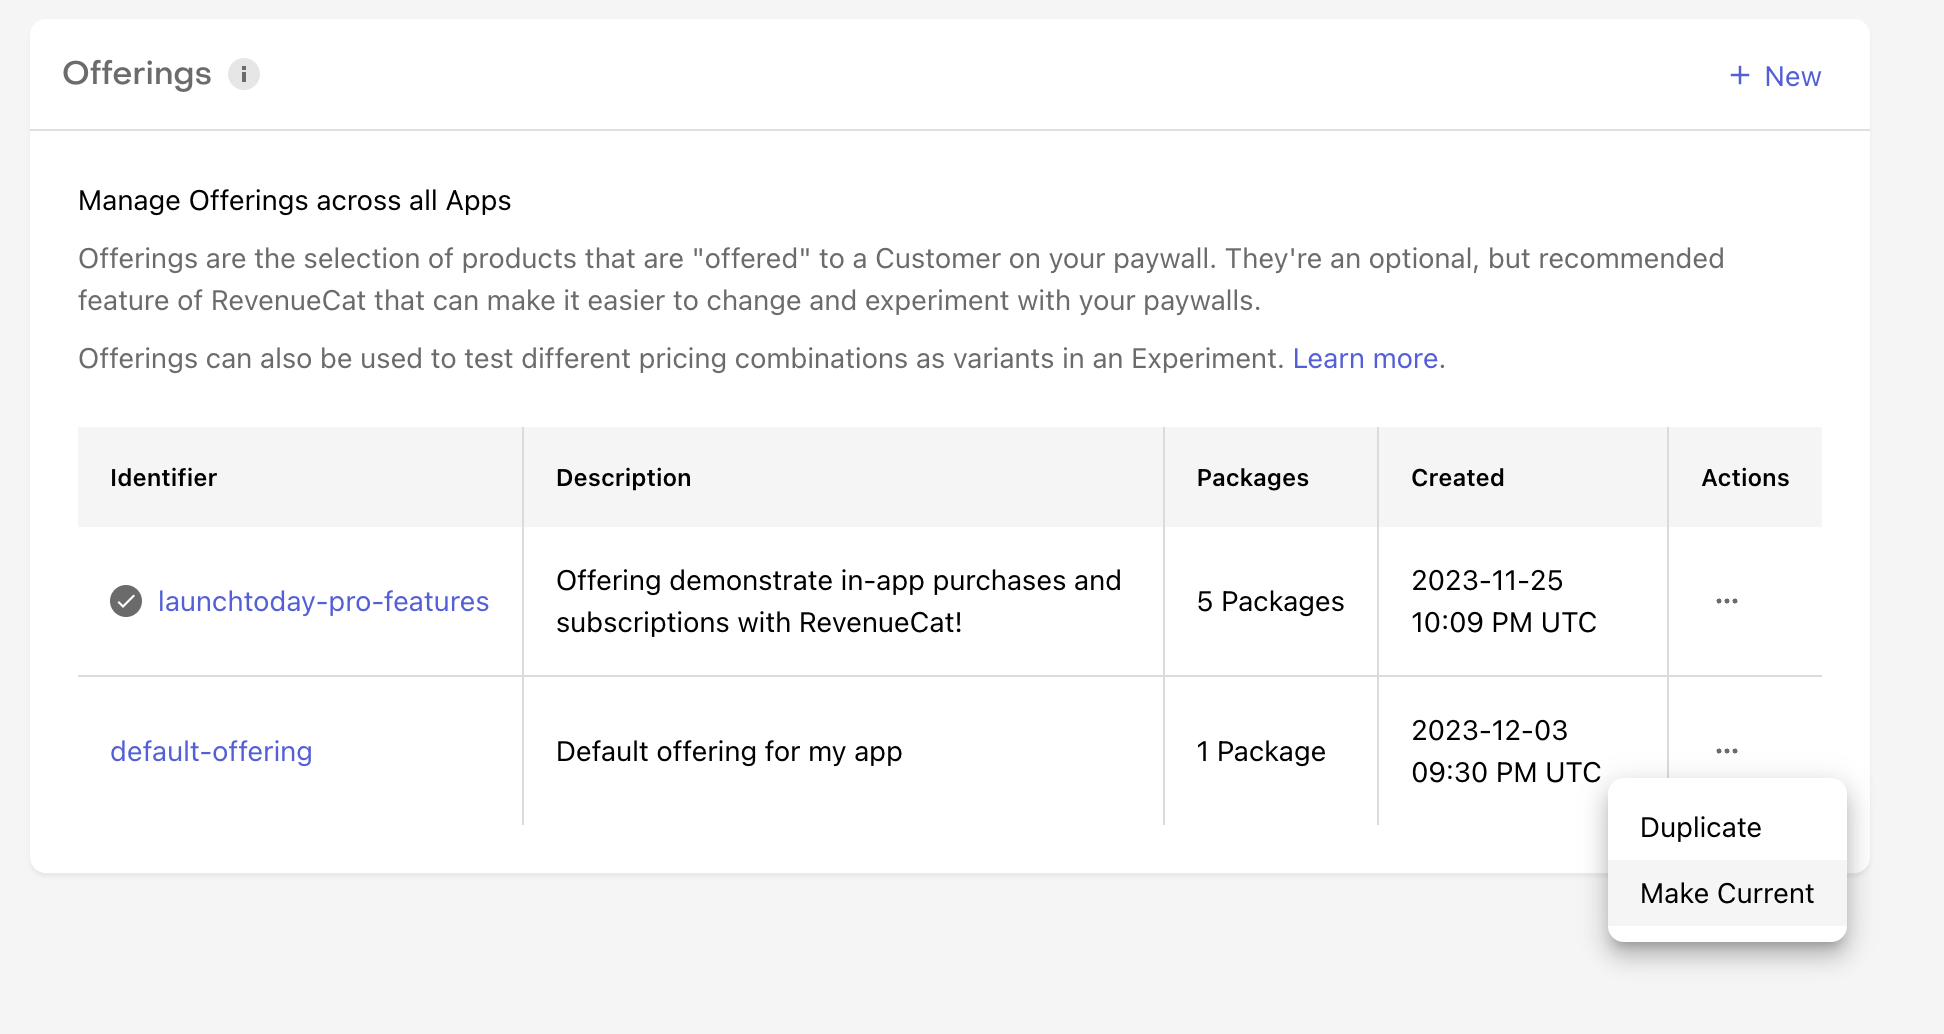
Creating offerings for the entitlements
Lastly, create an offering for your entitlements:
- give your offering an identifier and description
- select the created offering and create a new package. You can set the identifier to custom and give it a unique name, as well as a unique description
- select the created package and attach a product (this will be the list of in-app purchase products we created and imported earlier)
The last step is to ensure the offering is the default offering in RevenueCat. If you have multiple offerings, you can select make current from the Actions column of the offering:
Once you have created the offerings for all 3 products we initially created and imported, you can test the in-app purchase on your physical device.
Testing on physical devices
To test on your physical iPhone, follow these instructions:
- Ensure you have the Expo Go app installed on your device
- Once you've logged into your account, run
npx expo start --dev-clientto start the metro bundler - You will see a QR code - scan the code using your camera app and you'll be prompted to open the expo app
- Test the in-app purchase by navigating to the RevenueCat screens:
Here's a short demo of an in-app purchase end to end: